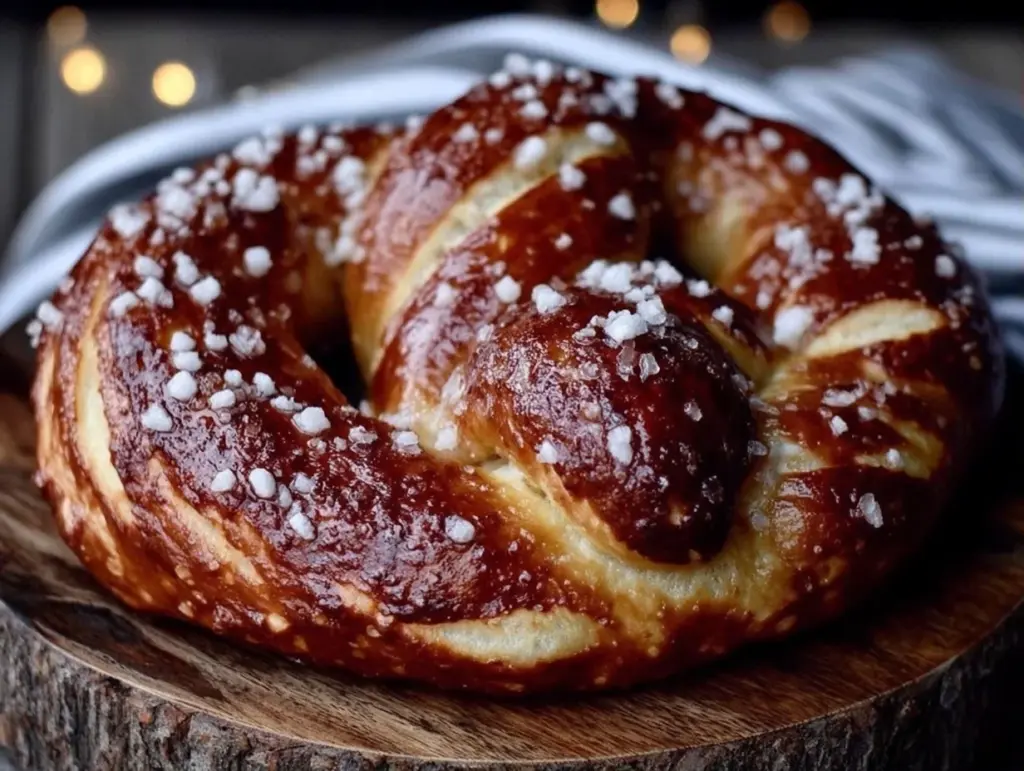
Okay, real talk time. I used to think that making authentic German pretzels at home was some kind of mythical, ancient ritual reserved for Bavarian grandmothers with hands made of dough and patience made of steel. You know the type. I spent years watching videos of bakers shaping perfect, dark, glossy Laugenbrezeln and feeling completely defeated before I even turned on my oven. I tried one recipe that required 4 hours of rising, a special lye solution I was too scared to buy, and resulted in something that looked more like a twisted bagel than a pretzel.
It was sad. It was dense. It was, frankly, a waste of good flour.
Then, I had a breakthrough. A total “lightbulb moment” in my kitchen at 5 PM on a Tuesday. I was hungry, I didn’t want to drive to the bakery, and I refused to order takeout. So, I hacked the process. I stripped away the unnecessary steps, swapped the scary chemicals for safe, kitchen-friendly baking soda, and focused on speed without sacrificing that signature chewy, salty perfection. The result? These Original Oktoberfest Brezeln in 30 Min.
I’ve tested this version over a dozen times now. Some days I use all-purpose flour, some days I mix in bread flour for extra chew, but the core method stays the same: fast, forgiving, and ridiculously delicious. If you’ve ever wanted to bring the taste of the Munich beer gardens into your own home without spending your entire weekend baking, this is it. This Oktoberfest Brezeln in 30 Min recipe is my answer to “what’s for dinner” when I’m tired, broke, and craving something warm and comforting.
These aren’t just snacks. They’re a vibe. They’re the smell of autumn, the crunch of coarse salt, and the soft, pillowy interior that pulls apart in the best way possible. Let’s get into why you’re going to make these every single month from now on.
Why You’ll Love This Recipe
Lightning Fast — We’re talking 30 minutes from flour to finish. That’s right. While most bread recipes demand hours of waiting, this one moves at the speed of hunger. I make these on weeknights when I get home at 7pm, and they’re ready before my takeout app even loads.
Zero Special Equipment — You don’t need a stand mixer, a proofing box, or a PhD in chemistry. Just a bowl, a spoon, and a baking sheet. If you can stir, you can make these. I’ve made these while holding a baby, while watching TV, and while talking on the phone. They are that forgiving.
That Authentic Chew — I know, I know. “Chewy” sounds weird if you’re not used to German bread. But this is the good kind. It’s the kind of chew that reminds you of those soft pretzels from the state fair, but elevated. The baking soda bath creates that deep, mahogany crust and that distinct “pretzel” flavor that you can’t fake with just butter and salt.
Weeknight Hero — This is my answer to “what’s for dinner” when I’m tired and don’t want takeout. Pair them with soup, eat them with cheese, or just tear into them warm with a little butter. It’s comfort food in its purest form.
This is my answer to ‘what’s for dinner’ when I’m tired and don’t want takeout. Seriously, life is too short for dry, store-bought bread.
Ingredients You’ll Need
Here’s the best part: you probably have most of this already in your pantry. I love that this recipe doesn’t require a trip to the specialty store. It uses simple, accessible ingredients that you trust. Let’s break down what you need and why it matters.
Active Dry Yeast (1 packet / 7g) — This is your leavening agent. It’s what makes the dough rise and get those airy bubbles inside. You can use instant yeast if that’s what you have, but active dry works perfectly fine. Just make sure it’s not expired! I’ve made this with old yeast before, and it was a flat, sad disaster. Check your yeast if it’s been sitting in the cupboard for six months.
Warm Water (1 cup / 240ml) — This activates the yeast. It needs to be warm to the touch, like a baby’s bathwater. Not hot, or you’ll kill the yeast. Not cold, or it won’t wake up. If you don’t have a thermometer, just test it with your pinky finger. It should feel comfortably warm, not scalding.
Bread Flour (3 cups / 375g) — I prefer bread flour for that chewy texture. All-purpose flour works too, but the pretzels will be slightly softer and less “bready.” If you want that authentic Oktoberfest bite, stick with bread flour. It has more protein, which means more gluten, which means more chew. Trust me on this one.
Salt (1.5 tsp / 9g) — Essential for flavor, but also helps control the yeast activity. Don’t skip this, or the pretzels will taste bland and doughy. I use fine sea salt for mixing into the dough.
Sugar (1 tbsp / 15g) — Just a little bit. It feeds the yeast and helps with browning. You don’t want sweet pretzels; you want savory. This is just a helper.
Baking Soda (2/3 cup / 165g) — This is the magic ingredient. This is what creates the alkaline bath that gives pretzels their unique color and flavor. Yes, it’s a lot of baking soda, but you rinse it off mostly. Don’t use baking powder; they are not the same thing. Baking soda is sodium bicarbonate. Baking powder has acid in it. Stick to baking soda for this bath.
Coarse Salt (for topping) — Pretzels are nothing without the crunch of coarse salt on the outside. I use kosher salt or pretzel salt. Table salt will dissolve too quickly and won’t give you that satisfying crunch. Grab the big flakes.
Butter (optional, for brushing) — Some people brush with egg wash for shine. I brush with melted butter after baking for that rich, bakery smell. It’s optional, but highly recommended for the full experience.
Equipment You’ll Need
You don’t need fancy equipment. Here’s what I actually use.
Large Mixing Bowl — Just a big bowl to mix the dough. I use a ceramic one because it’s heavy and doesn’t slip around.
Baking Sheets — Two standard sheet pans. Line them with parchment paper. This is non-negotiable. Pretzels stick like crazy if you don’t use parchment. It makes cleanup a breeze.
Large Pot — For the baking soda bath. A stockpot works best because you need enough water to submerge the pretzels easily. If your pot is too small, you’ll struggle to flip them without breaking them.
Slotted Spoon or Spider Strainer — To lift the pretzels out of the hot baking soda water. A slotted spoon is fine, but a spider strainer gives you better control. Don’t use a regular spoon; the pretzels might slip through or break.
Parchment Paper — Seriously, just buy the roll. It saves so much headache.
Step-by-Step Instructions
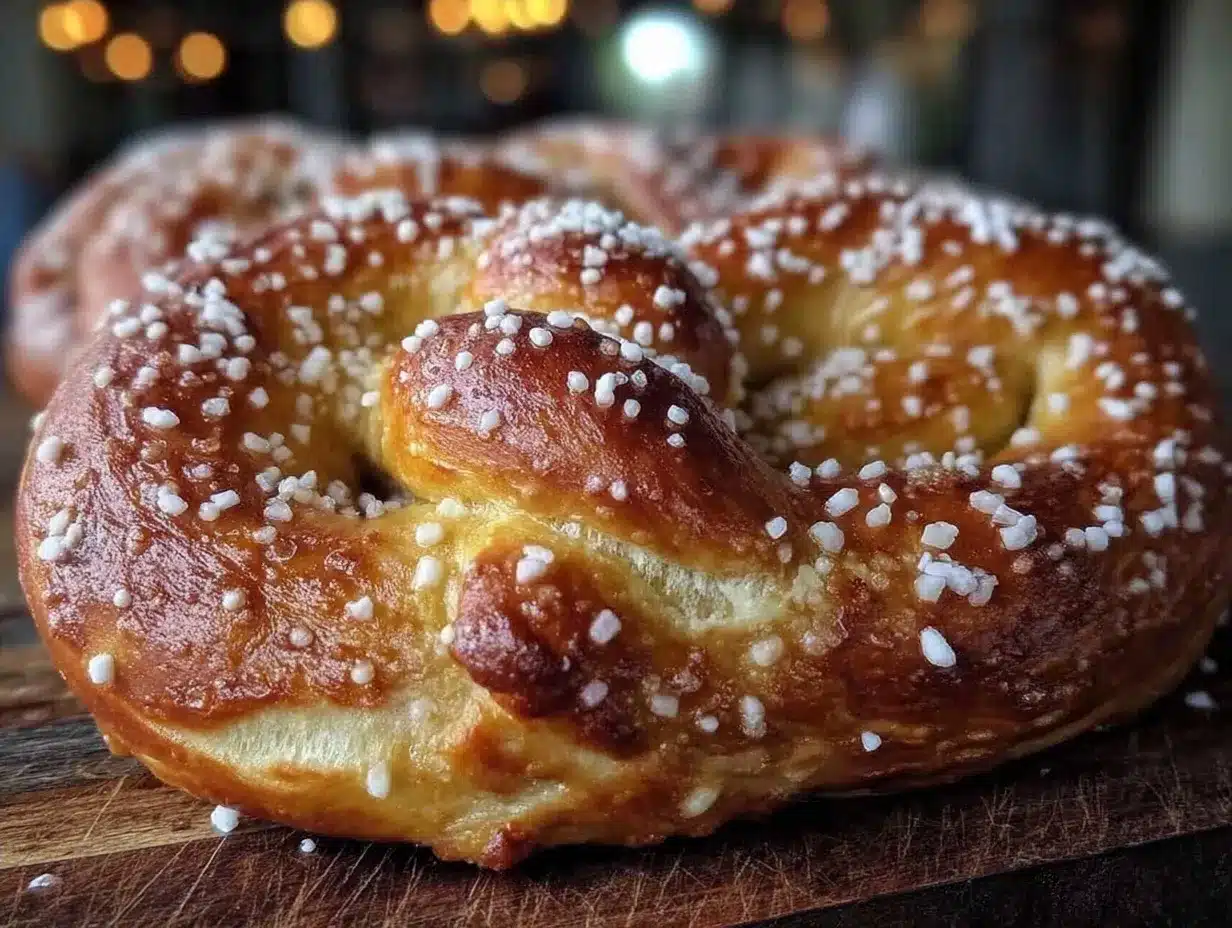
Alright, let’s make this! I’m walking you through exactly how I do it. It’s simpler than you think, and I’ll point out exactly where things can go wrong so you can avoid those pitfalls.
Step 1: Activate the Yeast
In a large bowl, combine the warm water and sugar. Sprinkle the yeast on top and stir gently. Let it sit for 5–10 minutes. You’ll see it get foamy and bubbly. If it doesn’t bubble, your yeast is dead or the water was too hot/cold. Start over. Don’t try to salvage it; it won’t rise. This step is crucial. Pro tip: If your kitchen is cold, put the bowl in a turned-off oven with the light on for warmth.
Step 2: Make the Dough
Add the salt and 2 cups of the flour to the yeast mixture. Stir until a shaggy dough forms. Then, gradually add the remaining flour, ½ cup at a time. You want a dough that is slightly sticky but pulls away from the sides of the bowl. It shouldn’t be a hard ball, and it shouldn’t be a puddle. Knead it in the bowl or on a floured surface for about 5 minutes. Watch out: If the dough is too sticky, add a sprinkle of flour. If it’s too dry and cracking, add a teaspoon of water. You want it soft and elastic.
Step 3: Shape the Pretzels
Divide the dough into 8 equal pieces. Roll each piece into a long rope, about 18–20 inches long. This takes practice. If your ropes are uneven, your pretzels will bake unevenly. Try to keep the thickness consistent. Once you have your ropes, form the classic pretzel shape: make a U-shape, cross the ends over each other, then press them onto the bottom curve of the U. Press firmly so they stick. Troubleshooting: If the ends don’t stick, wet them slightly with water before pressing. If they unravel during boiling, they weren’t pressed hard enough or the dough was too dry.
Step 4: The Baking Soda Bath
Bring a large pot of water to a boil. Carefully stir in the baking soda. It will fizz up like a volcano! Let it settle. Once calm, drop 2–3 pretzels into the water at a time. Boil for 30 seconds on one side, then flip and boil for 30 seconds on the other. Remove with a slotted spoon and place on the parchment-lined baking sheet. Warning: The water will be hot and alkaline. Be careful not to splash it on your skin; it can cause irritation. Work in batches so you don’t overcrowd the pot.
Step 5: Top and Bake
Immediately sprinkle the boiled pretzels with coarse salt. The salt needs to stick while the surface is still wet. Bake at 425°F (220°C) for 12–15 minutes, or until they are deep mahogany brown. Sensory cue: They should smell nutty and yeasty. If they’re pale, they need more time. If they’re black, you burned them. Aim for dark brown, not charcoal.
Step 6: Finish
If you’re using butter, brush the warm pretzels with melted butter immediately after taking them out of the oven. This adds flavor and shine. Let them cool for 5 minutes before eating. They are extremely hot inside! Total time: 30 minutes. 10 min prep, 10 min shaping/boiling, 10 min baking.
Tips & Tricks
Here’s everything I’ve learned from making this dozens of times. These are the secrets that separate the good pretzels from the great ones.
Don’t Skip the Boil — I know it seems like an extra step, but the boiling water sets the crust before the oven does. This is what gives pretzels their distinct chew and color. If you skip this, you’re just making twisted bread rolls. Don’t skip it.
Keep the Dough Covered — After kneading, cover the bowl with a damp towel or plastic wrap. If the dough dries out while you’re shaping, it will crack when you try to twist it. Keep it moist.
Work Quickly — Once the pretzels are boiled, they start to dry out. Get them into the oven quickly. If they sit on the counter too long before baking, the crust will harden and they won’t rise as much in the oven.
Common Mistake: Pale Pretzels — If your pretzels are coming out light brown, your oven might be running cool, or you didn’t boil them long enough. Try boiling for 40 seconds per side. Also, make sure your oven is fully preheated. Pretzels need high heat to get that color.
Common Mistake: Dense Pretzels — This usually happens if you over-knead or use too much flour. Or, if you didn’t let the yeast activate properly. Check your yeast freshness. Also, don’t pack the flour into your measuring cup. Spoon it in and level it off.
Pro Trick: Steam for Crispiness — For an extra crispy exterior, place a pan of hot water on the bottom rack of your oven while the pretzels bake. The steam helps the crust set and crisp up. It’s a little extra effort, but worth it for the texture.
Variations & Substitutions
Once you’ve nailed the basic version, here’s how to mix it up. I’ve tried all of these, and they’re all winners.
Cheese Pretzels — Sprinkle shredded cheddar or gruyere on top after boiling, before baking. The cheese melts into the crust and gets crispy. Amazing with mustard dip.
Garlic Herb Pretzels — Mix garlic powder and dried parsley into the dough before shaping. Or, sprinkle garlic salt on top after boiling. Great for game day.
Sweet Pretzels — Skip the salt and brush with cinnamon sugar after baking. Dip in chocolate or caramel. These are great for dessert.
Dairy-Free — Use water instead of milk in the dough (if you were using it) and skip the butter brush. The pretzels themselves are naturally dairy-free.
Gluten-Free — Use a 1:1 gluten-free flour blend with xanthan gum. The texture will be slightly different, less chewy, but still delicious. You may need to adjust the water amount.
Protein Swap — You can’t really swap the flour for protein without changing the texture entirely, but you can serve them with a high-protein dip like Greek yogurt-based ranch or a bean dip.
Serving & Storage
How to Serve: These are best served warm, right out of the oven. Pair them with a cold beer (or a non-alcoholic lager), spicy brown mustard, or cheese sauce. I also love serving them with a simple Oktoberfest Käsespätzle for a full German feast. Or, if you want something lighter, try a bunter Herbstsalat on the side.
Storage: Store leftovers in an airtight container at room temperature for up to 2 days. They will soften over time, which is fine. They’re still good!
Reheating: To restore freshness, reheat in a 350°F (175°C) oven for 5–7 minutes. The microwave will make them chewy and tough, so avoid it. If you must use the microwave, do it for 10 seconds only.
Freezing: Yes, you can freeze them! Freeze the uncooked, shaped pretzels on a baking sheet, then transfer to a freezer bag. Bake directly from frozen, adding 2–3 minutes to the baking time. Or, freeze baked pretzels and reheat in the oven. They won’t be quite as fresh-tasting, but they’re still great.
Meal Prep Tip: Make a double batch and freeze the extras. They’re perfect for quick snacks or party appetizers.
FAQs
Q: Can I use baking powder instead of baking soda?
**A:** No. Baking powder is not alkaline enough to create the pretzel crust. You need baking soda (sodium bicarbonate) for the chemical reaction that gives pretzels their unique color and flavor. It’s a non-negotiable ingredient for this recipe.
Q: Why did my pretzels turn out pale?
**A:** This usually means you didn’t boil them long enough, or your oven temperature was too low. Make sure your water is at a rolling boil, and boil for at least 30 seconds per side. Also, check your oven with a thermometer to ensure it’s actually reaching 425°F.
Q: Can I shape the pretzels ahead of time?
**A:** You can shape them, but you should boil and bake them immediately. If you let shaped pretzels sit out, the dough will dry out and crack. If you need to prep ahead, you can make the dough, divide it, and refrigerate it for up to 24 hours. Bring it to room temperature before shaping.
Q: Are these healthy?
**A:** They’re made with simple ingredients, but they are still bread, so they’re high in carbs. They’re not a health food, but they’re better than store-bought pretzels which often have preservatives and added sugars. Enjoy them in moderation as a treat or side dish.
Q: What if I don’t have coarse salt?
**A:** You can use kosher salt. If you only have fine table salt, it will still work, but it won’t give you that crunchy texture. It will also dissolve faster, so you might need to add more. But coarse salt is really the best for this recipe.
Final Thoughts
Making Original Oktoberfest Brezeln in 30 Min is one of those cooking wins that feels like a cheat code. You get that bakery-quality result without the hours of work or the stress. It’s warm, it’s salty, it’s chewy, and it smells amazing. It’s the perfect way to bring a little bit of Germany into your kitchen, no matter where you live.
I hope you try this recipe. I hope you get messy with the dough, I hope you laugh when one unravels, and I hope you devour the final product while it’s still hot. Drop a comment and tell me how it turned out! I love hearing from you. And if you need more ideas for your next gathering, check out my Oktoberfest Weißwurst recipe or my Oktoberfest Apfelstrudel for the perfect sweet finish. Happy baking!
Pin This Recipe!
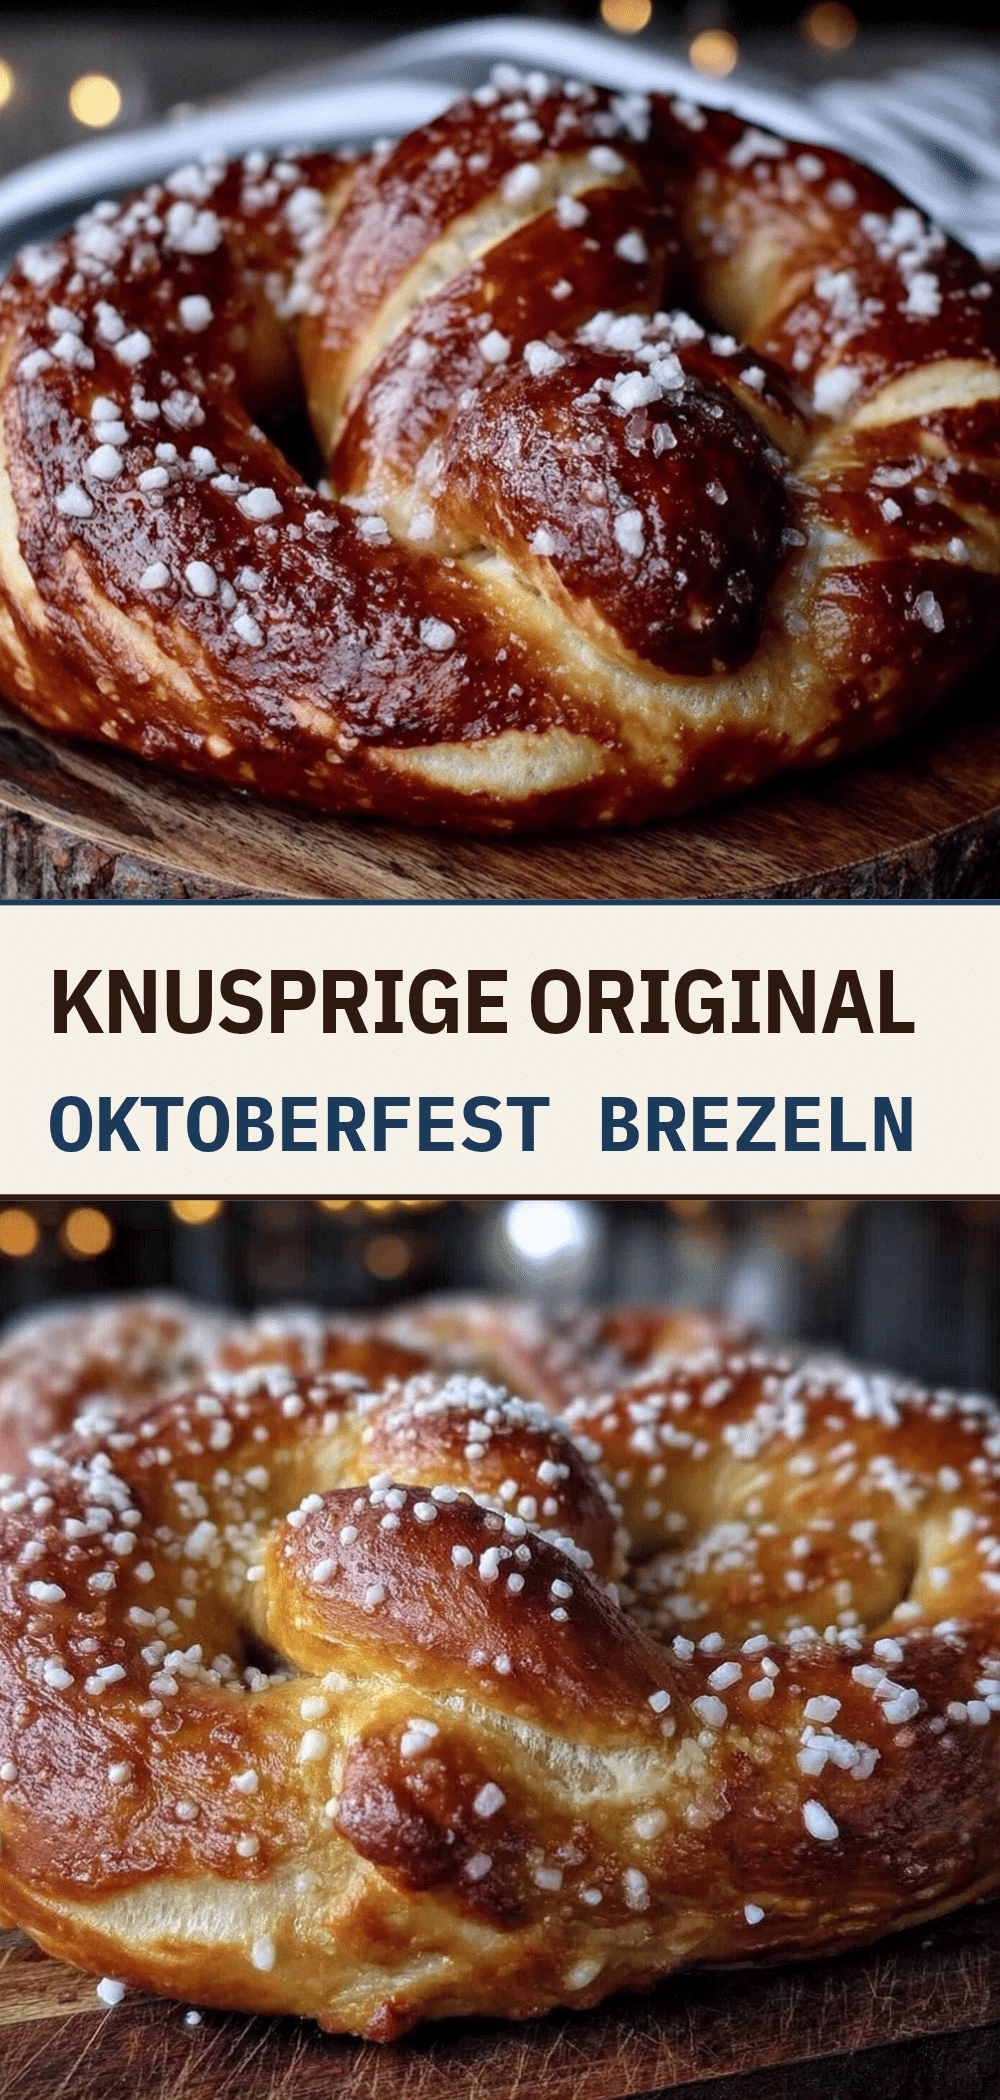
Original Oktoberfest Brezeln in 30 Min
- Total Time: 30 Minuten
- Yield: 8 Brezeln 1x
Description
Schnelle und einfache Rezept für weiche, kaubare deutsche Brezeln, die in nur 30 Minuten zubereitet werden können. Perfekt für Wochendabende und ohne spezielle Ausrüstung.
Ingredients
- 1 Päckchen (7g) Trockenhefe
- 1 Tasse (240ml) lauwarmes Wasser
- 3 Tassen (375g) Brotmehl
- 1,5 TL (9g) Salz
- 1 EL (15g) Zucker
- 2/3 Tasse (165g) Natron
- Grobkörniges Salz (zum Bestreuen)
- Butter (optional, zum Bestreichen)
Instructions
- Hefe in einer großen Schüssel mit lauwarmem Wasser und Zucker vermengen und 5–10 Minuten ruhen lassen, bis sie schäumt.
- Salz und 2 Tassen Mehl zur Hefemischung geben und zu einem klebrigen Teig rühren. Nach und nach das restliche Mehl hinzufügen. Den Teig 5 Minuten kneten, bis er weich und elastisch ist.
- Den Teig in 8 gleiche Teile teilen. Jedes Teil zu einem ca. 45–50 cm langen Seil ausrollen und in die klassische Brezel-Form bringen.
- Ein großes Topf mit Wasser zum Kochen bringen und das Natron einrühren. Die Brezeln portionsweise für je 30 Sekunden pro Seite in das Natronbad geben.
- Die Brezeln mit einem Lochlöffel herausnehmen, auf ein mit Backpapier ausgelegtes Blech legen und sofort mit grobkörnigem Salz bestreuen.
- Die Brezeln bei 220°C (425°F) für 12–15 Minuten backen, bis sie dunkelbraun sind. Optional mit geschmolzener Butter bestreichen und 5 Minuten abkühlen lassen.
Notes
Achten Sie darauf, dass das Wasser für die Hefe nicht zu heiß ist, um die Hefe nicht abzutöten. Das Natronbad ist alkalisch und kann Hautreizungen verursachen, daher mit Vorsicht arbeiten. Verwenden Sie kein Backpulver statt Natron, da dies die chemische Reaktion für die Kruste nicht ermöglicht.
- Prep Time: 10 Minuten
- Cook Time: 20 Minuten
- Category: Beilage
- Cuisine: Deutsch
Nutrition
- Serving Size: 1 Brezel
- Calories: 250
- Sugar: 2
- Sodium: 600
- Fat: 2
- Saturated Fat: 5
- Carbohydrates: 45
- Fiber: 2
- Protein: 8
Keywords: Oktoberfest, Brezeln, Deutsche Küche, Schnelle Rezepte, Brot, Hefegebäck, Laugenbrezeln


